Imagine that you’re on holiday, trying to photograph a famous landmark. There are sure to be other tourists around, messing up your photographs. But what if there were a way to automatically remove these interlopers from your photographs?
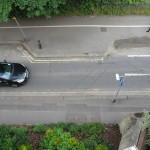
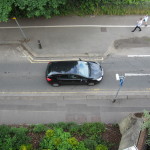
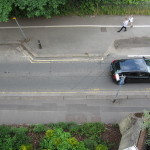
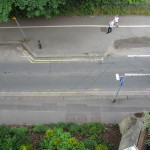
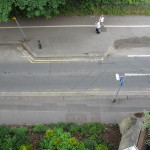
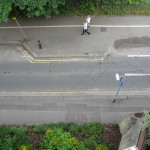
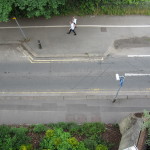
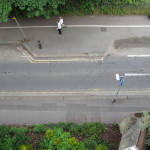
Here are eight photographs of the street outside a local car park, taken from the car park’s roof. In each of the photographs there is some sort of foreign object present – either a pedestrian or a car.
Below is a copy of the image, but with all of those foreign objects removed. This isn’t the result of hours of painstaking manipulation – it’s the result of running one special filter, a median layer blend, on the collection of images.
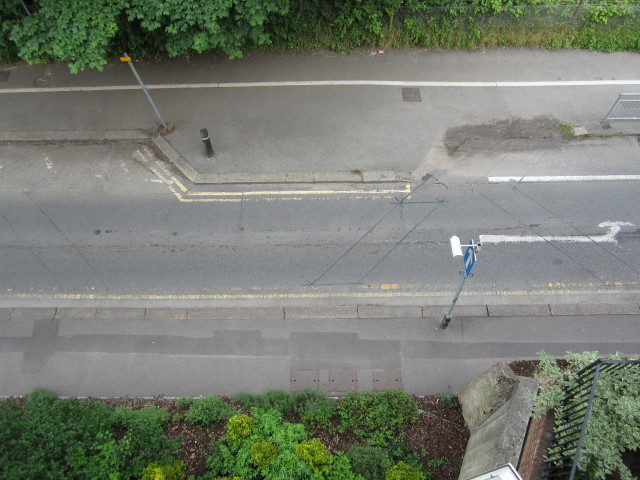 The median layer blend works by taking the colour values for the same pixel in each photograph and then using the median value as the value used in the output image.
For example, if the red values for the first pixel in each image were 234, 234, 197, 251, 222, 193 and 218 then the median would be 218, as it falls in the middle when they are arranged in order (193, 197, 213, 218, 222, 234, 234, 251). Because each foreign object is in a different position in each frame, the RGB values for the pixels that make them up will lie at either end of the scale, and those values will be eliminated when the median layer blend filter is applied.
It is very important that whilst taking your images that the camera remains in a fixed position; if the camera is allowed to move you end up with a blurry and oddly smooth image. The leaves in the output photograph above are slightly blurred because they were moved by the wind as the original photographs were being taken.
This technique is also very useful when taking photographs with a high ISO setting in low light. Images taken in low light are prone to noise, but because this noise is different in every image, a median layer blend filter does a very good job of removing this noise.
Here is a boring image of a London Tube network map, taken at ISO 3200 in poor light.
If we look closely, the image is very noisy.
 But after running ten of these images through a median layer blend filter, the noise is very satisfactorily removed.
L-R: The original noisy image and the resulting “de-noised” processed image.
I used the GIMP image processing software with the G’MIC plugin to create the images above, but I’m pretty sure similar tools are available for other packages (e.g. Photoshop).


I expect this anti-noise removal is similar to what the Nokia 808 does. You can take photos using its sensors full 38 megapixels, and it saves them all. But it’s often more practical to shoot in, say, 5MP (as it saves photos quicker, you can store more in a phone, and send them easier).
When shooting in 5MP (with no zoom), it still captures using its the full 38MP sensor, then does something they call “pixel oversampling” to remove noise. For each pixel that will be saved in the final image, they analyse the surrounding pixels that will be discarded to filter out the noise.
Here’s a Nokia paper (PDF) that doesn’t really go into much detail of how oversampling works: http://i.nokia.com/blob/view/-/849564/data/2/-/Download1.pdf